Archery is a sport that requires precision and accuracy, so practicing is essential for improvement. A great way to practice archery from the comfort of your own home or backyard is to build your DIY archery targets. You can have your archery target with some basic materials and a few simple steps!
Materials Needed to Build an Archery Target
Foam Insulation Board
Foam insulation board is one of the primary materials needed for a DIY archery target. You could also create targets from items such as watermelons or pumpkins. These would be fun additions to backyard parties or gatherings. The thickness of the board will determine the target’s durability. Choose a board that is 2 to 3 inches thick.
Cardboard or Burlap
Besides the foam insulation board, you’ll need either cardboard or burlap. These materials will be used to create the front and back layers of the target. They will provide an extra absorption layer and protection for the foam board.
Duct Tape
Duct tape is also crucial in the construction of your DIY target. It will secure the layers of materials together, ensuring your target maintains its shape and integrity even after many uses.
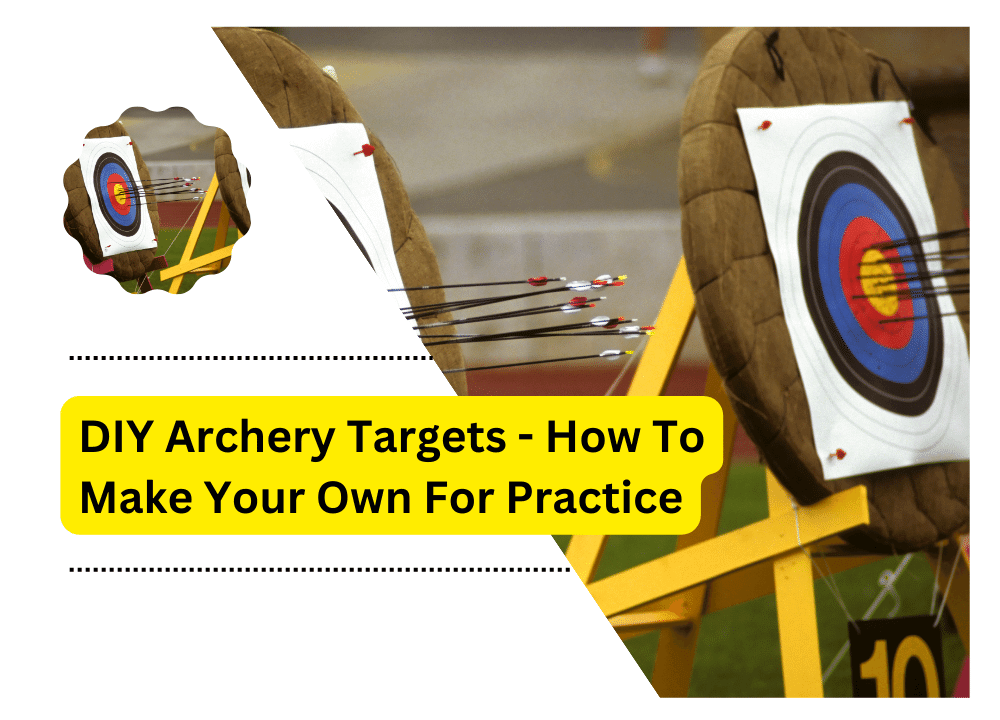
Target Face
You’ll need a target face. It can be a made target face purchased from a sports store or create your own using paper and markers. It is the part of the target where you’ll aim and shoot your arrows.
Choosing the Right Target Design
Once you have the necessary materials, it’s time to decide on your target design. It can range from a simple circular shape to more complex designs with many layers of circles and rectangles. When selecting your target design, consider the type of archery you’ll practice and the size of arrows you use. Also, remember that a larger target is easier to hit, so if you’re a beginner archer, opt for a larger design.
Building the Target
Now that you have chosen your target design and gathered the required materials, it’s time to start building! First, place the foam insulation board onto a flat surface such as a table or hard floor. Then, cut out two pieces of cardboard or burlap in the same design as your target. Place one of these pieces over the foam board and secure it with duct tape around the edges.
Next, place the second piece of cardboard or burlap on top and again secure it with duct tape. It creates two layers of protection for your target. It ensures that both materials will absorb arrows before reaching the foam board. Attach the target face to the center of the layers using duct tape or glue.
Target Maintenance and Longevity
After building your target, it’s important to maintain it to ensure its longevity. It means inspecting the condition of your target and replacing any damaged components as necessary. Additionally, you should note how you use your target so that you can replace the materials when needed. With these steps, plus proper care and storage, you can enjoy a quality DIY archery target for years.
Alternative DIY Target Ideas
Many alternatives are available if you’re looking for a more creative or unique archery target. These options go beyond the traditional foam board and cardboard design. For example, use pool noodles or old tires instead of foam insulation board as your base material. You could also create targets from items such as watermelons or pumpkins. These would be fun additions to backyard parties or gatherings. There’s no limit to the possibilities for DIY archery targets. So don’t be afraid to get creative with your design!
Practice Tips and Techniques
Once you have your target built, it’s time to start practicing! Before shooting:
- Stretch and warm up your muscles to reduce the risk of injury.
- As you practice, focus on developing proper form and technique.
- Ensure your stance is correct, and you release the arrow with a consistent draw length.
Keeping these tips in mind, you will be well on your way to becoming an expert archer!
FAQs
The best material for a DIY archery target is foam insulation board. This lightweight yet sturdy material will absorb the impact of arrows, making it perfect for homemade targets. Use cardboard or burlap to create two layers over the foam board for added protection and durability.
When selecting your target design, consider the type of archery you’ll practice and the size of arrows you use. Also, remember that a larger target is easier to hit, so if you’re a beginner archer, opt for a larger design.
It’s important to inspect the condition of your DIY target and replace any damaged components as needed. Additionally, you should note how you use your target so that you can replace the materials when needed.
Before shooting, stretch and warm up your muscles to reduce the risk of injury. Additionally, it is important to practice good archery etiquette. Always follow the proper range commands, keep arrows pointed in a safe direction, and never shoot until you are sure of your target and backstop.
The best material for an archery backstop is thick and dense, such as 4×8-foot plywood boards. You should also ensure that your backstop can stop arrows fired from all distances.
Conclusion
Building your DIY archery targets is a great way to practice from home. You can construct a safe and effective target that is perfect for honing your skills with the right materials and knowledge. Remember that regular maintenance and proper technique are essential for success. So keep these tips in mind as you practice. With a little patience and dedication to the sport, you’ll soon be an expert archer!