Even if you try to shoot, how do you shoot a bow? Without any knowledge, you may miss your shot completely. Yes, it looks easy to do whenever you see someone shooting a bow. In reality, it’s not like icing on the cake as one thinks it’s as easy as pulling the string and letting it go.
So, there are some guidelines you need to follow as an archer to shoot a bow ideally.
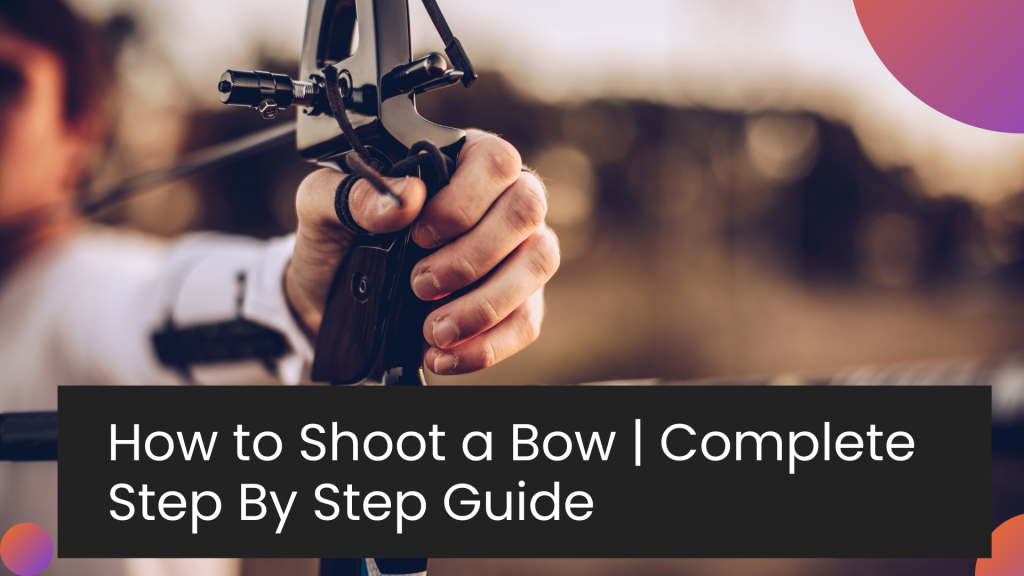
How to Shoot a Bow
Now without wasting any time, let us take you through some basic steps of shooting a bow, so you will find it easy. If you follow all the steps, you will hit it like a pro.
Let’s start learning each step one by one, how to shoot a bow.
1-Stance while shooting a bow
In the beginning, you have to stand perpendicular to the line you choose to take a shot from. This line decides the range from which you start hitting your target. Many archers initially try to stay 10 or 20 yards away from their target.
Suppose you are a right-handed archer, so your left arm is your bow arm as you are holding your bow. At the same time, your right arm is known to be a shooting arm. As a right-handed shooter, you will step out your left foot while taking your stance. Indirectly you are transferring your body weight on your front foot. So your left foot is your front foot.
As a beginner, you will make many mistakes while taking a stance. Following are the common mistakes we must avoid to stay in good shape.
- Excessive bending of Knees – Keeping your knees bent will increase your stability. There is no need to turn them more than what is required will let you fall on either side, which may result in missing shots or any injury. Try to avoid over-bending of knees.
- Curvy Back – Another mistake we made is keeping our backs not straight. However, it will make you feel comfortable and can take shots easily. But eventually, you are heading towards the wrong form or will have to bear back pain. To avoid this, keeping your back straight while taking shots is recommended.
- Body Leaning Toward the Target – Whenever we take our shot, as beginners without prior knowledge, we sometimes lean our body towards the target. Always remember that the only thing heading towards our target is our head, followed by our chest.
Related Article: How to Adjust Your Bow sights | 3 Easy Ways
2- Nocking your Arrow
The next step you need to take is nocking your Arrow, where adjusting the Arrow on the bowstring for shooting is part of nocking. For this, initially, you will place the Arrow’s shaft on the Arrow’s rest, whereas the Arrow’s rest is made of plastic which lies on the bow that will be used to place the Arrow.
Now you need to slide your Arrow back unless your nock is resting on the bow string – Nock is a piece of the grove at the end of our Arrow. As an archer, we want the string of our bow to settle on that piece.
On our Arrow, there will be 3 different fletching feathers near your nock. And you nock the Arrow so that one of the fletchings is heading away from our bow.
3- Holding Bow String
Hold the bowstring so that your index finger is on the upper side of your Arrow while the middle finger is below. This whole process is commonly known as split finger draw. Many archers called it a Mediterranean draw.
Use your fingertips to hold the bowstring, which will help you release your Arrow smoothly. Moreover, if you have it firmly, then there is a chance of a missed arrow to happen. Avoid this by creating hooks with fingers, and use them wisely to keep your Arrow steady.
Good to know: Using protective gear while shooting a bow is recommended to avoid any problems. You can use gloves or any other available equipment to protect your fingers. The use of these gears is commonly applied on stronger bows.
4- Correct Position of your Hand and Arm:
Hand grip will play an essential role in the accuracy of our shot. If you hold the bow too tightly, it will shake soon after our shot. That’s why it’s recommended to carry the grip not too tightly nor too loosely.
Make your grip as it will become easier for you to keep your bow steady. Your hand palm should be aligned with the target or facing toward it. Moreover, do not raise your arm above your target.
If you slightly bend your arm, then there is a chance that the string will touch you during release. With that, your arm should be in line with your target.
5- Draw a Bow
Proper posture and a good stance are essential in drawing a bow. If your chest and shoulder are perpendicular to your target, then your view is considered to be an ideal one. You can quickly remove the bow by pulling your arm across your chest.
Pulling the string of your bow is done by your upper back muscles. Shoulder muscles are supposed to be relaxed while relying on arm muscles and some of our upper back muscles while drawing the bow.
As you pull back the bowstring, your draw wrist is supposed to be in line with the forearm.
6- Finding of Full Draw Point
This is the anchor point where we always point our bow’s string when we shoot. To explain it, it is a point where we can point over and over again without any issue. A good archer is always consistent.
The anchor point should lie between the corner of your mouth or under your chin. A typical anchor point for many archers is in the corner of their mouths. Many archers use the corner of the mouth as their anchor point because it’s easy to remember and repeatable. This could be achieved by bringing the index finger of your drawing hand to the corner of your mouth.
6- Aiming at your Target
Setting a bow sight is a nightmare for a beginner, but it’s ain’t too difficult. But when you are done with the settings, you are good to go to aim at your target.
Now, you are all done with your Arrow and shoot position settings. It’s time to aim while aiming at your target is crucial when you hit a bow with an arrow.
Using your dominant eye(either right or left) while aiming, initially adjust your sight and hit arrows toward your target. If you are hitting the target accurately, then tighten the screws of your housing. Moreover, if it is missing your mark, make horizontal, vertical, or 3rd-axis adjustments per the requirement.
Most of the time, the bow comes with a pre-installed sight, but in case your sight is not installed, then no need to worry; visit any archery shop near you, and they will do this job for you.
7- Releasing of Arrow
Release your Arrow in a straight line heading towards your target; it sounds good but meeting these criteria is tricky. Some beginners made a mistake by pushing the bow forward while taking a shot. This will cause the Arrow to miss the target.
However, hold your bow correctly when you release your Arrow; this will allow your Arrow to hit the targeted area accurately. Do not try to push or pull your bow too much.
8- Analysis of Shot after shooting a bow
An analysis is a part that some archers preferred to do while others skipped it. But if you are passionate about how to shoot a bow, ideally, it is recommended to do some analysis after every round.
Check whether your stance was perfect. Are your arrows hitting the right area or not? Does your anchor point remain the same all the time? If the answers to all these questions are positive, then there is no need to change, and you are doing it perfectly.
CONCLUSION:
You have learned all the basics of how to shoot a bow. Now you can implement all these steps and earn a pro archery tag.
Remember one thing: if your basics are right, nobody can stop you, and you can improve them daily. So your initial stance plays a vital role in your shot, so always be accurate and precise.