It is called a draw when you try to pull the bow string back. When you are pulling the bowstring back then, it is known as drawing. Shooting a bow requires a few steps for each shot to go off as accurately as possible. Compared to compound bows, recurves require a lot more execution and alignment to hit the middle of your target with consistency.
But the actual question here is how to draw a bow. We know as a beginner, it is not an easy task, but it’s not a difficult one either. We built this guide for your assistance to help you do this job easily. We will share everything you need to know about drawing a bow. Once you understand it better, you can easily play around with it.
How to Draw a Bow?
Now we will share a few steps, from basic to advanced. The steps we will share with you are the ones we are following these days. But everyone can follow a different strategy. Anybody can have their way of doing it. Without any further delay, we directly jump into the main topic.
Following are the simple steps involved to discuss how to draw a bow accurately.
- Initial Stance
- Hook the String
- Draw Bowstring
- Expanding and Execution
- Follow Through
1- Initial Stance
Stance is also your standing position when you aim at your target and try to draw a bow. Your standing posture on the shooting line helps you make your alignment easier or harder— it all depends on your flexibility and strength. If your stance is right, you are almost 50-60% done with your aim for perfection. There are multiple stance positions, but most archers prefer shooting with an open stance.
An open stance requires a little opening of the legs to descend with the shoulders. The open stance is best for archers with clearance issues in the front shoulders or chest. On the other side, the basic stance keeps your feet even to each other about your target.
If you draw a line across the front foot of your shoes, it will surely be pointing at the target you are aiming for. An open stance helps align your shoulders because twisting is unnecessary to offset open hips.
However, as no twisting is involved, you might feel no tension through any part of your body. As a beginner, experiment with both stances and play around with them to decide which works best for you.
2- Hook the String
In order to draw a bow, every archer must learn the skill to hook the bowstring properly, which means putting your fingers around the string. There are several hook options, deep or shallow, with pros and cons. A shallow hook means grabbing the bowstring closer to your fingertips for a quicker and cleaner release.
As the bowstring is farther from the main knuckle, you may feel more tension in the hand holding the string. On the other hand, a deep hook means grabbing the bowstring in between your fingers (proximal and distal joints), which gives a more relaxed grip over the string.
Unfortunately, the release here feels rough because of how much the fingers must move from the string’s path.
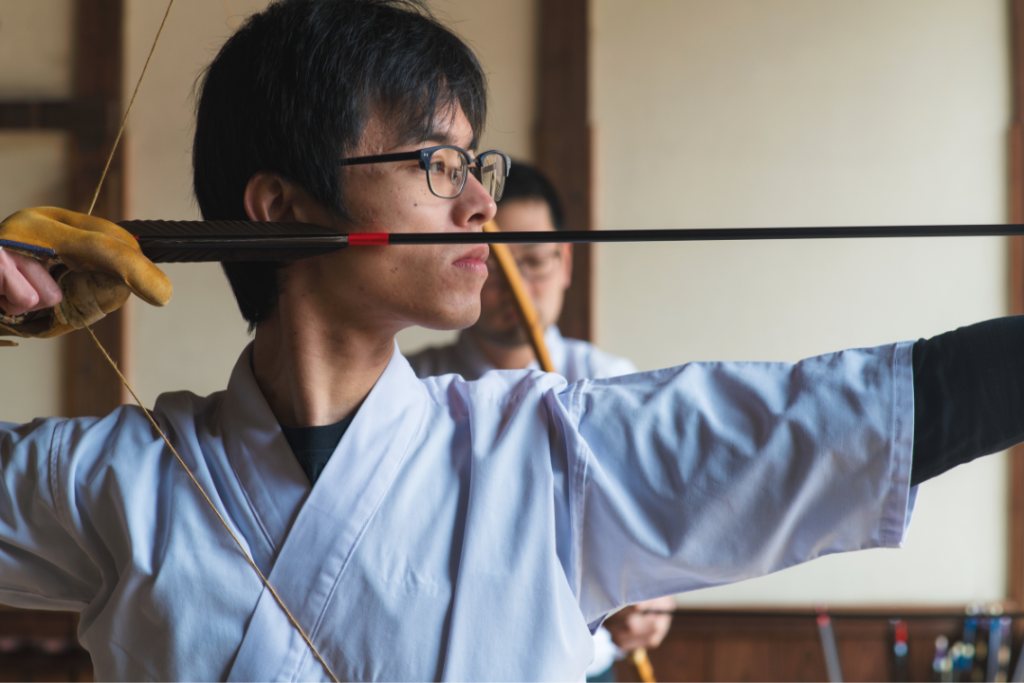
3- Draw Bowstring
Drawing the bowstring is crucial, as it decides how you get into and use your back in shooting your target. The two most common ways of drawing bowstrings are linear and angular, but they are not the only ways. There are hundreds of other ways used by archers.
Korean archers mostly use the linear draw method in which the bowstring does not move either left or right while being drawn straight to the anchor point. American archers preferred angular draws, where the bowstring moves away from your body and back to the anchor point. These two methods easily engage your back muscles if you are using good-quality strings.
4- Expanding and Execution
You must have heard about clickers in many ways, but we usually have three alternatives: push, pull, or both. Most beginners learn to pull through the clicker when using it for the first time. Single motion is one of the simplest, most effective ways to get archers an idea of how clickers work. Pushing through clickers requires more effort or energy from your body.
Whenever an archer is about to activate the clicker, they hold the bowstring against their face at full draw and start pushing the riser away. It works fine if you are having any trouble with a moving anchor, but you cannot rule out the occurrence of the problem because of pushing motion. It should do by expanding the shoulder instead of lengthening your arms at the elbow as we do in a pushing extension.
A combination of pull and push is known as expanding through the clicker. Usually, it takes some time to synchronize this method, but it is an effective way to come through your clicker. You can move accurately when all the pieces fall into place, and there is no need to think about finishing the shot.
When you talk about execution, it means you must keep your back engaged as long as the arrow leaves the bow. Keep your bow arm up (the arm in which you hold the bow) and towards your target to guide the arrow to hit the middle.
5- Follow Through
An archer should not stop their motion once the arrow is released and they hear the clicker’s sound. If you want to observe a great follow-through, it is only possible if your string hand moves away from the bow upon release and you maintain a strong post-shot pose.
Strong follow-throughs help archers hit the middle of their target consistently and ensure efficient movement of arrows.
Summary
Drawing a bow now becomes easier for you if you have gone through all these easy ways. Once you learn how to draw a bow, nobody can stop you from hitting your target with accuracy and precision.
Try to draw your bow using our method and share your experience. If you get stuck, we are here to help you at any stage.