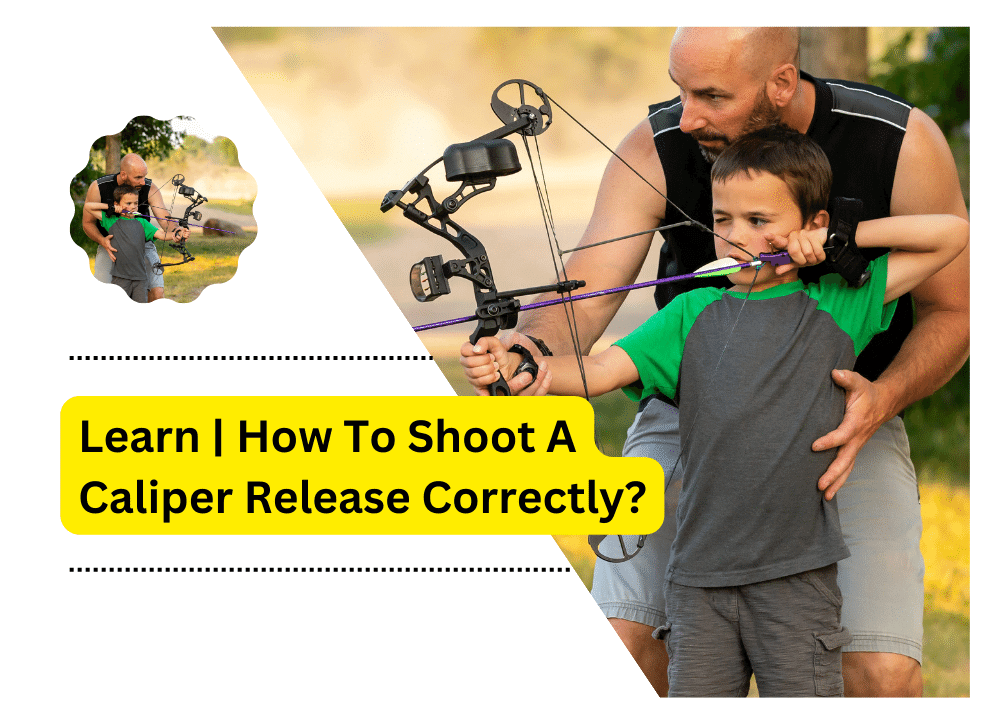
A caliper release is an archery accessory that helps you to shoot more accurately with greater consistency. It’s easy to use but can become dangerous if misused. Therefore, learning how to shoot a caliper release correctly is of utmost importance for any archer. This article will provide step-by-step instructions on how to do this safely and effectively.
Equipment Preparation
The first thing you need to do is make sure all of your equipment is set up correctly. This includes checking that the caliper release is securely attached to your bowstring and that the release aid is in the correct position for your draw length. You should also check that the arrow nock point is appropriately adjusted to align with your eye when at full draw.
Drawing and Aiming
It’s time to start shooting once all the equipment is set up. Draw your bow by pushing your thumb forward until you reach your maximum draw length – this should be done in a smooth, steady motion, with no stops or jerks.
Once you have reached the full draw position, pause briefly to aim at the target. Remember to keep your head and spine aligned and ensure you’re not straining any muscles to hold the bow correctly.
Releasing
When ready to release the arrow, carefully open your fingers while pressing the caliper release aid with your thumb. Do not jerk or flick – this could cause the arrow to fly off target. Instead, release it gently until the arrow leaves the bowstring smoothly and flies towards its intended target. Archery trigger release is a must-have tool for any archer looking to optimize their accuracy and consistency in shooting.
How To Shoot A Caliper Release Correctly?
Step 1: Choose the Right Caliper Release
The first step in shooting a caliper release correctly is choosing the right one for you. One of the most essential factors is draw length, which should be based on your arm span when fully extended. Additionally, look at the head size, grip, and other unique features that make the caliper release more comfortable.
Step 2: Prepare The Bow
Before you can shoot a caliper release, ensuring your bow is appropriately set up is vital. This includes checking the nocking point, bracing height, and tiller of the bow, as well as any adjustments to the draw length or arrow rest. Additionally, ensure that the bow string is waxed and free of any obstructions.
Step 3: Load The Arrow On The String
Once your bow is set up, you can load the arrow on the string. Ensure plenty of room between the arrow and the riser (the middle part of the bow). When you’re ready, insert the arrow in the string and knock it.
Step 4: Position The Caliper Release
Next, position your caliper release comfortably from the bowstring when attached to your index finger. It should be close enough for you to pull back without straining but not too close, as this can cause the release to snag on the bow.
Step 5: Pull The Bowstring Back
At this point, you are ready to pull the bowstring back. Make sure your form is correct and your hand holding the caliper release is not in the line of fire as you draw back. When you have reached a comfortable draw length, pause and take a few deep breaths before releasing the arrow.
Step 6: Release The Shot
To release the shot, squeeze your index finger against the trigger of the caliper release and let go of the bowstring. You should feel a distinct click as you do this, indicating that the shot has been released.
Common Mistakes to Avoid
When shooting a caliper release, inevitable mistakes should avoid. First, never use the wrong size of caliper release for your draw length, as this can cause injury or worse. Additionally, always take your time when aiming and drawing back the bowstring – rushing will result in inaccurate shots. Finally, maintain proper form and posture when shooting to prevent injuries.
Practice and Improvement
You’ll need to practice regularly to become good at shooting a caliper release. Start with short distances and focus on accuracy rather than distance. As you become more experienced, gradually increase the range and adjust your technique as necessary. Finally, remember that improvement always comes with time and patience, so keep practicing and refining your skills!
FAQs
A: The best caliper release for you will depend on various factors, including draw length, hand size, and shooting style. Do your research when selecting one to ensure it meets all your needs.
A: The caliper release should be attached just tight enough that it doesn’t move around but not so tight that it causes discomfort when you are shooting.
A: It depends on your shooting goals and style – if accuracy is essential to you, then a caliper release can help improve your aim. However, it’s possible to shoot accurately without one.
Additional Tips
In addition to the steps outlined above, there are a few additional tips you should keep in mind when shooting with a caliper release. Always warm up and stretch before shooting; this helps prepare your muscles for action and can reduce the risk of injury. Additionally, practice regularly to help improve your form and accuracy. Finally, use high-quality equipment and check your bows and arrows for any damage before shooting.
By following the steps outlined in this article and avoiding common mistakes, you can confidently shoot a caliper release more accurately. With practice and dedication, you can become a safe and skilled archer.
Final Thought
Correctly shooting a caliper release is vital for accuracy and safety. Follow the steps outlined in How To Shoot A Caliper Release Correctly and avoid the common mistakes listed above to ensure your shots are accurate and safe. With practice, you can shoot with greater consistency and confidence.
